How to record webinars for free on Windows PC?

Webinars are an essential tool for businesses, educational institutions, and organizations to reach their target audiences globally. Recording webinars have become a vital aspect of content creation, as they can be repurposed and shared on various platforms to increase engagement and expand the audience. However, recording webinars effectively can be challenging without the right tools.
So, in this article, we will show you how to record a webinar on Windows with a screen recorder for PC.
Contents
How to record webinars on Windows PC for free?
iTop Screen Recorder is a powerful screen recording software that offers a wide range of features for users to create high-quality, professional-looking videos.
It’s an ideal tool for recording webinars, video conferences, lectures, presentations, and more.
Here are some of the key features iTop Screen Recorder has to offer:
- Record high-quality videos from full screens or selected regions
- Simultaneously record video, audio, and webcam footage
- Records games at up to 60 FPS without frame dropping
- Choose from several different shapes for webcam frames
- Adjust brightness settings as needed
- Blur or replace backgrounds with your own images or solid colors
- Reduce video file size in one click while still maintaining quality
- Teleprompter support for live presentations
Steps to Record Webinar Using iTop Screen Recorder
Here are the steps on how to use iTop Screen Recorder to record meeting on windows:
1. Download and launch iTop Screen Recorder on your PC.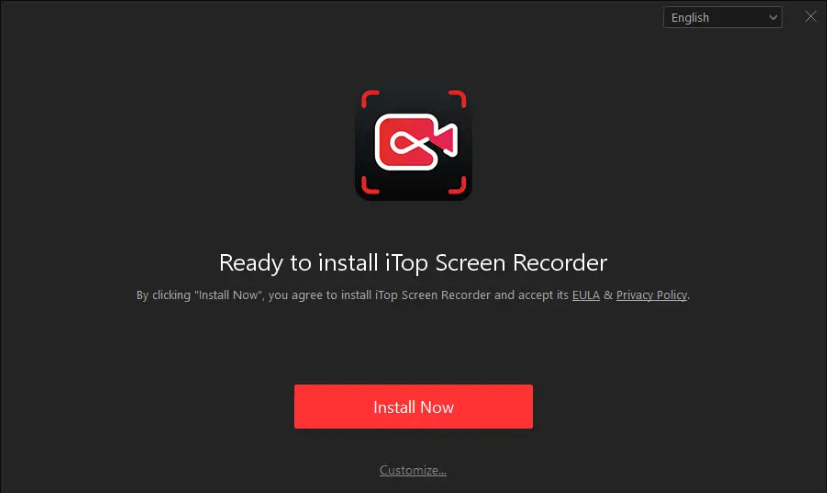
2. Choose your preferred recording mode – whether you want to capture the full screen, a custom region, or just audio.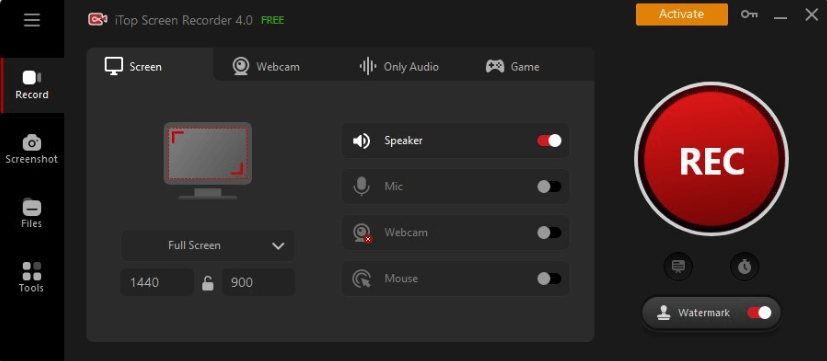
3. Before beginning the recording process, tweak your preferences according to your needs.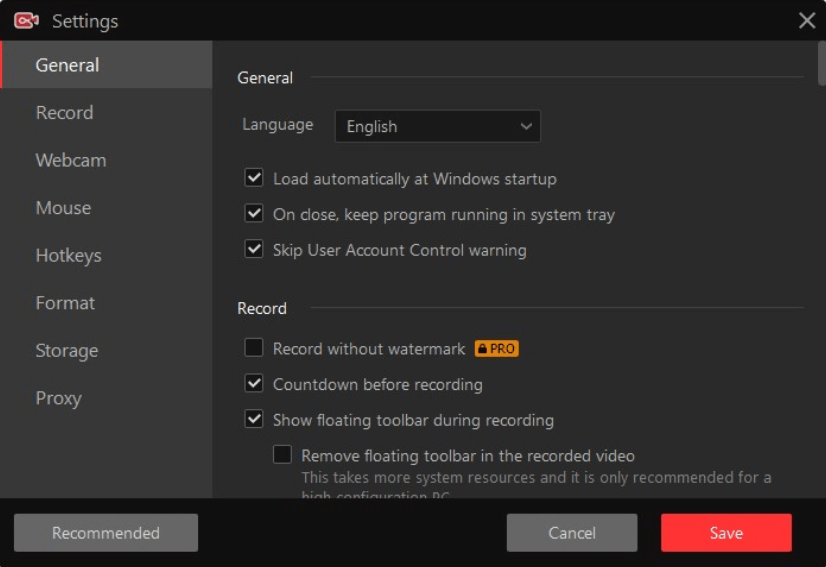
4. Once you’ve adjusted all settings, hit the “REC” button to start recording. During the webinar or meeting, you may want to clip specific parts of the conversation for future reference or analysis. 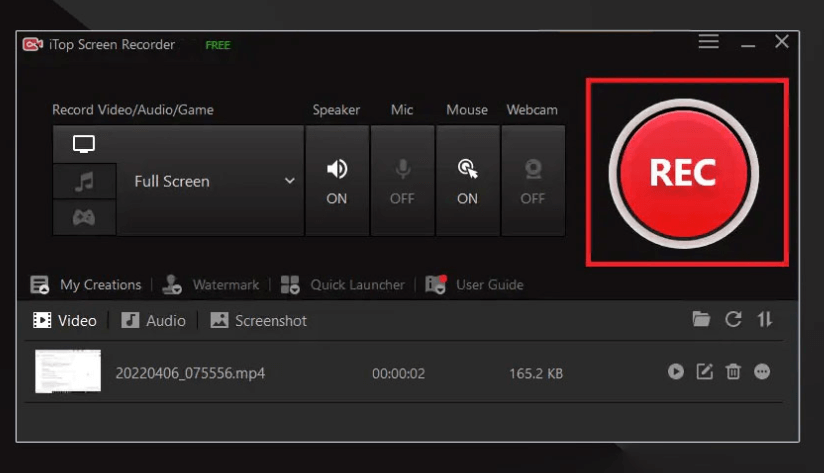
5. After finishing the recording, click stop and find your saved video in the “My Creations” folder.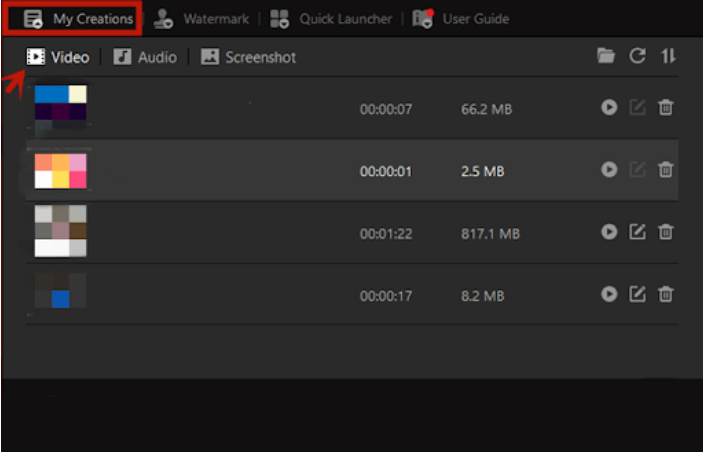
Edit Video Drafts With The Built-In Editor
iTop Screen Recorder enhances the webinar and video conference experience with its versatile tools for high-quality recordings and robust editing capabilities.
Suppose you have recorded your webinar using this software, but you need additional changes to improve the content quality. In that case, iTop Screen Recorder provides two incredible video editing modes – Quick Editor and Advanced Editor.
To use the Quick Editor, follow the steps below:
- First, download and install the software on your Windows 7 or later device.
- Launch the program and navigate to Tools > Quick Editor, located on the left menu bar.

- Drag and drop your recorded webinar into the app. You can then enhance it using various features available, including filters, stickers BGMs, or even add subtitles.

- As you make changes, use the Preview window located on the left sidebar of your display to view updates in real time.


In case you require more specialized enhancements for your webinars or virtual meeting recording;
- Access Advanced Editor by clicking Tools > Advanced Editor from the left menu bar.

- Create a new project by selecting Start a new creation option.

- Select desired footage to edit by clicking the “+” button to open a dialog box with videos available for editing. You can drag your selected clips onto your timeline.

- There are various other enhancements like trimming, splitting video clips into multiple segments, adjusting volume levels within each clip, etc., which can be done effortlessly using advanced editor mode, ensuring an intuitive editing process that yields impressive results.


Why sometimes it is necessary to record a webinar?
Recording a webinar is an excellent way to make the most out of your content and ensure that it has a broader reach. It not only provides you with an additional source of content but also helps in engaging more audiences, driving more traffic, and increasing conversions. Here are some benefits of recording webinars:
Reach a Wider Audience
Recording your webinar can extend the life of your content beyond the live event by making it available online at any time.
By doing so, you can reach a wider audience, including individuals who couldn’t attend the live event due to time zone differences, work schedules, or other commitments.
Increase Engagement
Webinar recordings allow viewers to go back and re-watch specific sections that they may have missed or didn’t fully understand during the live session, which can increase their level of engagement.
Repurpose Content
Recorded sessions can be repurposed for use in various ways, such as blog posts, podcasts, social media posts, etc., extending the lifespan of your content.
Offer More Value
By providing access to both live and recorded versions of webinars, organizers add more value and flexibility to their events for both attendees and non-attendees alike.
Measure Performance
Webinar recordings offer valuable data on how much time people spend watching your webinar and what they found to be most valuable; this data is useful for refining future webinars.
Other Ways to Record Webinars on Windows PC
There are other ways to record webinars on Windows PC, apart from using iTop Screen Recorder.
These methods offer different features, flexibility levels, and adaptability that may meet specific recording needs. Two such popular alternatives include using the Xbox Game Bar and OBS Studio.
Using Xbox Game Bar
Xbox Game Bar is built into Windows 10 as a screen-capturing software that allows users to capture gaming footage and also works well for recording webinars. Follow the steps below to use it:
- Press “Windows key + G” simultaneously to open the “Xbox Game bar”
- Check if you see the “Capture Widget” with a record button (if not, press “Windows key + G,” go to ‘Settings,’ then select the “Record Audio” option).
- Minimize the game bar, navigate toward your webinar on Google Chrome or other browsers
- Click on the Record Button to start recording.
Using OBS Studio
Open Broadcaster Software (OBS) Studio is free and open-source software that has become one of the most popular screen-capturing tools globally. It is an excellent tool for recording webinars with a broad range of customization options and features.
- Firstly, download OBS Studio onto your device.
- Install it following the instructions given in the installation wizard.
- Launching software starts up easily with few steps.
- The first step is to create a new Scene using the “+” sign on the ‘Scenes’ box located at the bottom-left corner of the app window.
- Find the window/web browser where the webinar is playing; click the “+” sign in the Source Box at the bottom center of the app window.
- Select either ‘Window Capture’ or ‘Display Capture’ depending on your preference; Enter the webinar URL in the ‘Browser’ Window.
- Adjust audio settings to the preferred format options provided in settings.
- Now, click “Start Recording,” located bottom-right corner of the app window, and OBS Studio will start recording your webinar with specified settings.
Conclusion
Screen recorder for PC can be a game-changer in expanding your audience and increasing engagement. While there are various screen recorder options available, iTop Screen Recorder’s versatility makes it an excellent choice for effortless recording and editing.
Its personalized webcam recording feature, professional game recording mode, screenshot tool, and powerful editing capabilities make it a top recommendation for recording webinars on Windows PC.